Firmenlogo GREASEMAX Schmierstoffgeber

Optimum, automaticubrication

Maintenance-free and absolutely reliable.

Select your discharge period:

Accessories - Remote mounting

GREASEMAX® Individual (OEM)

Worry-free machine lubrication in only 4 steps

Make the selection for your application

Automatischer Schmierstoffgeber
1.1 Discharge time and lubricant filling
done-icon

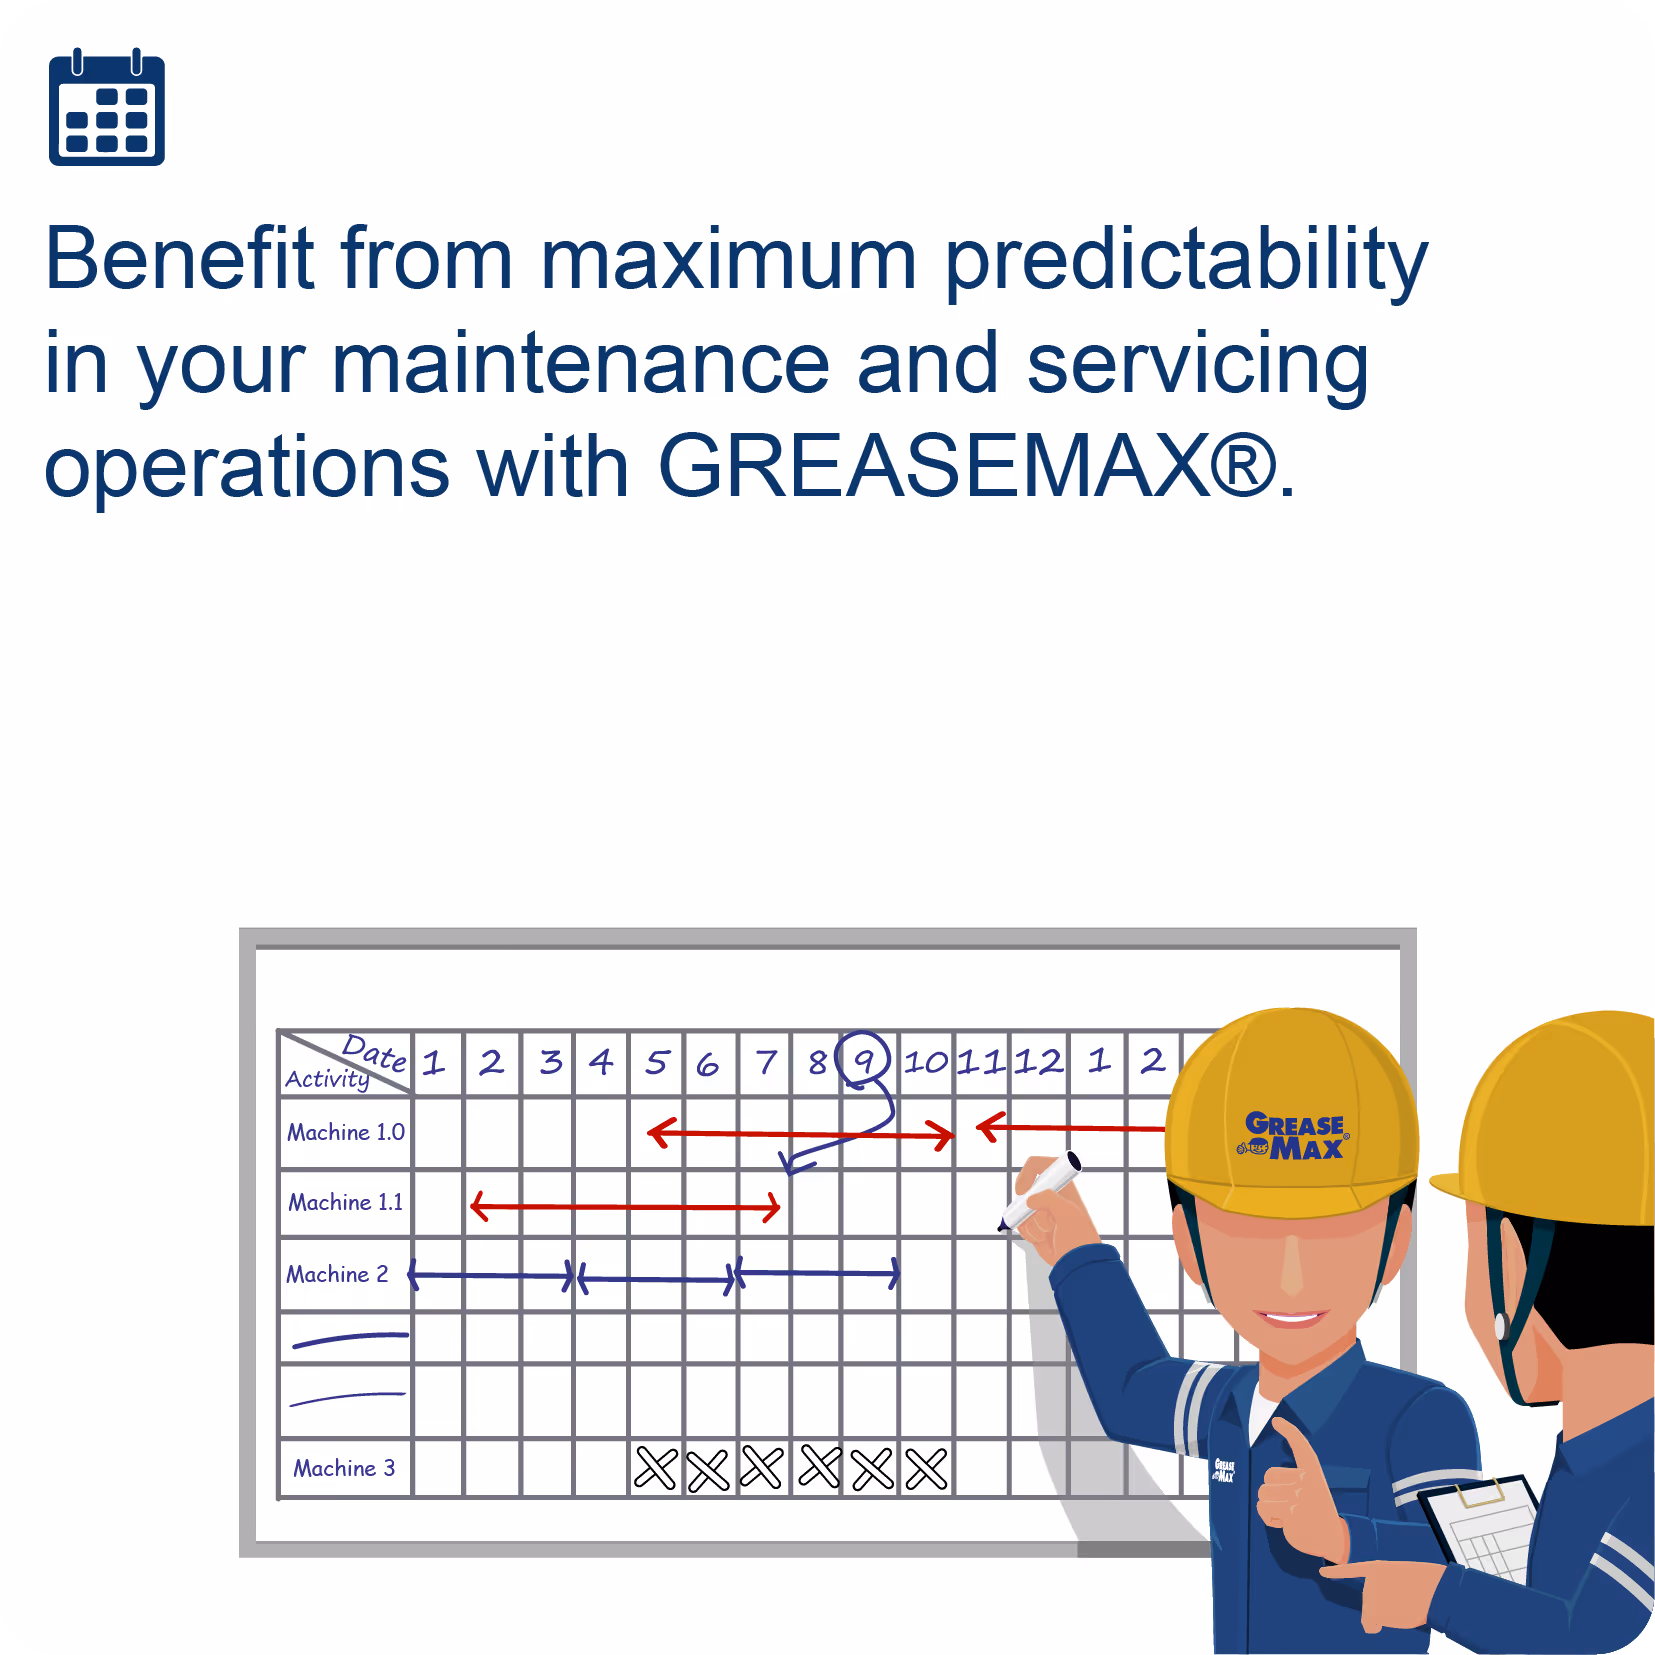
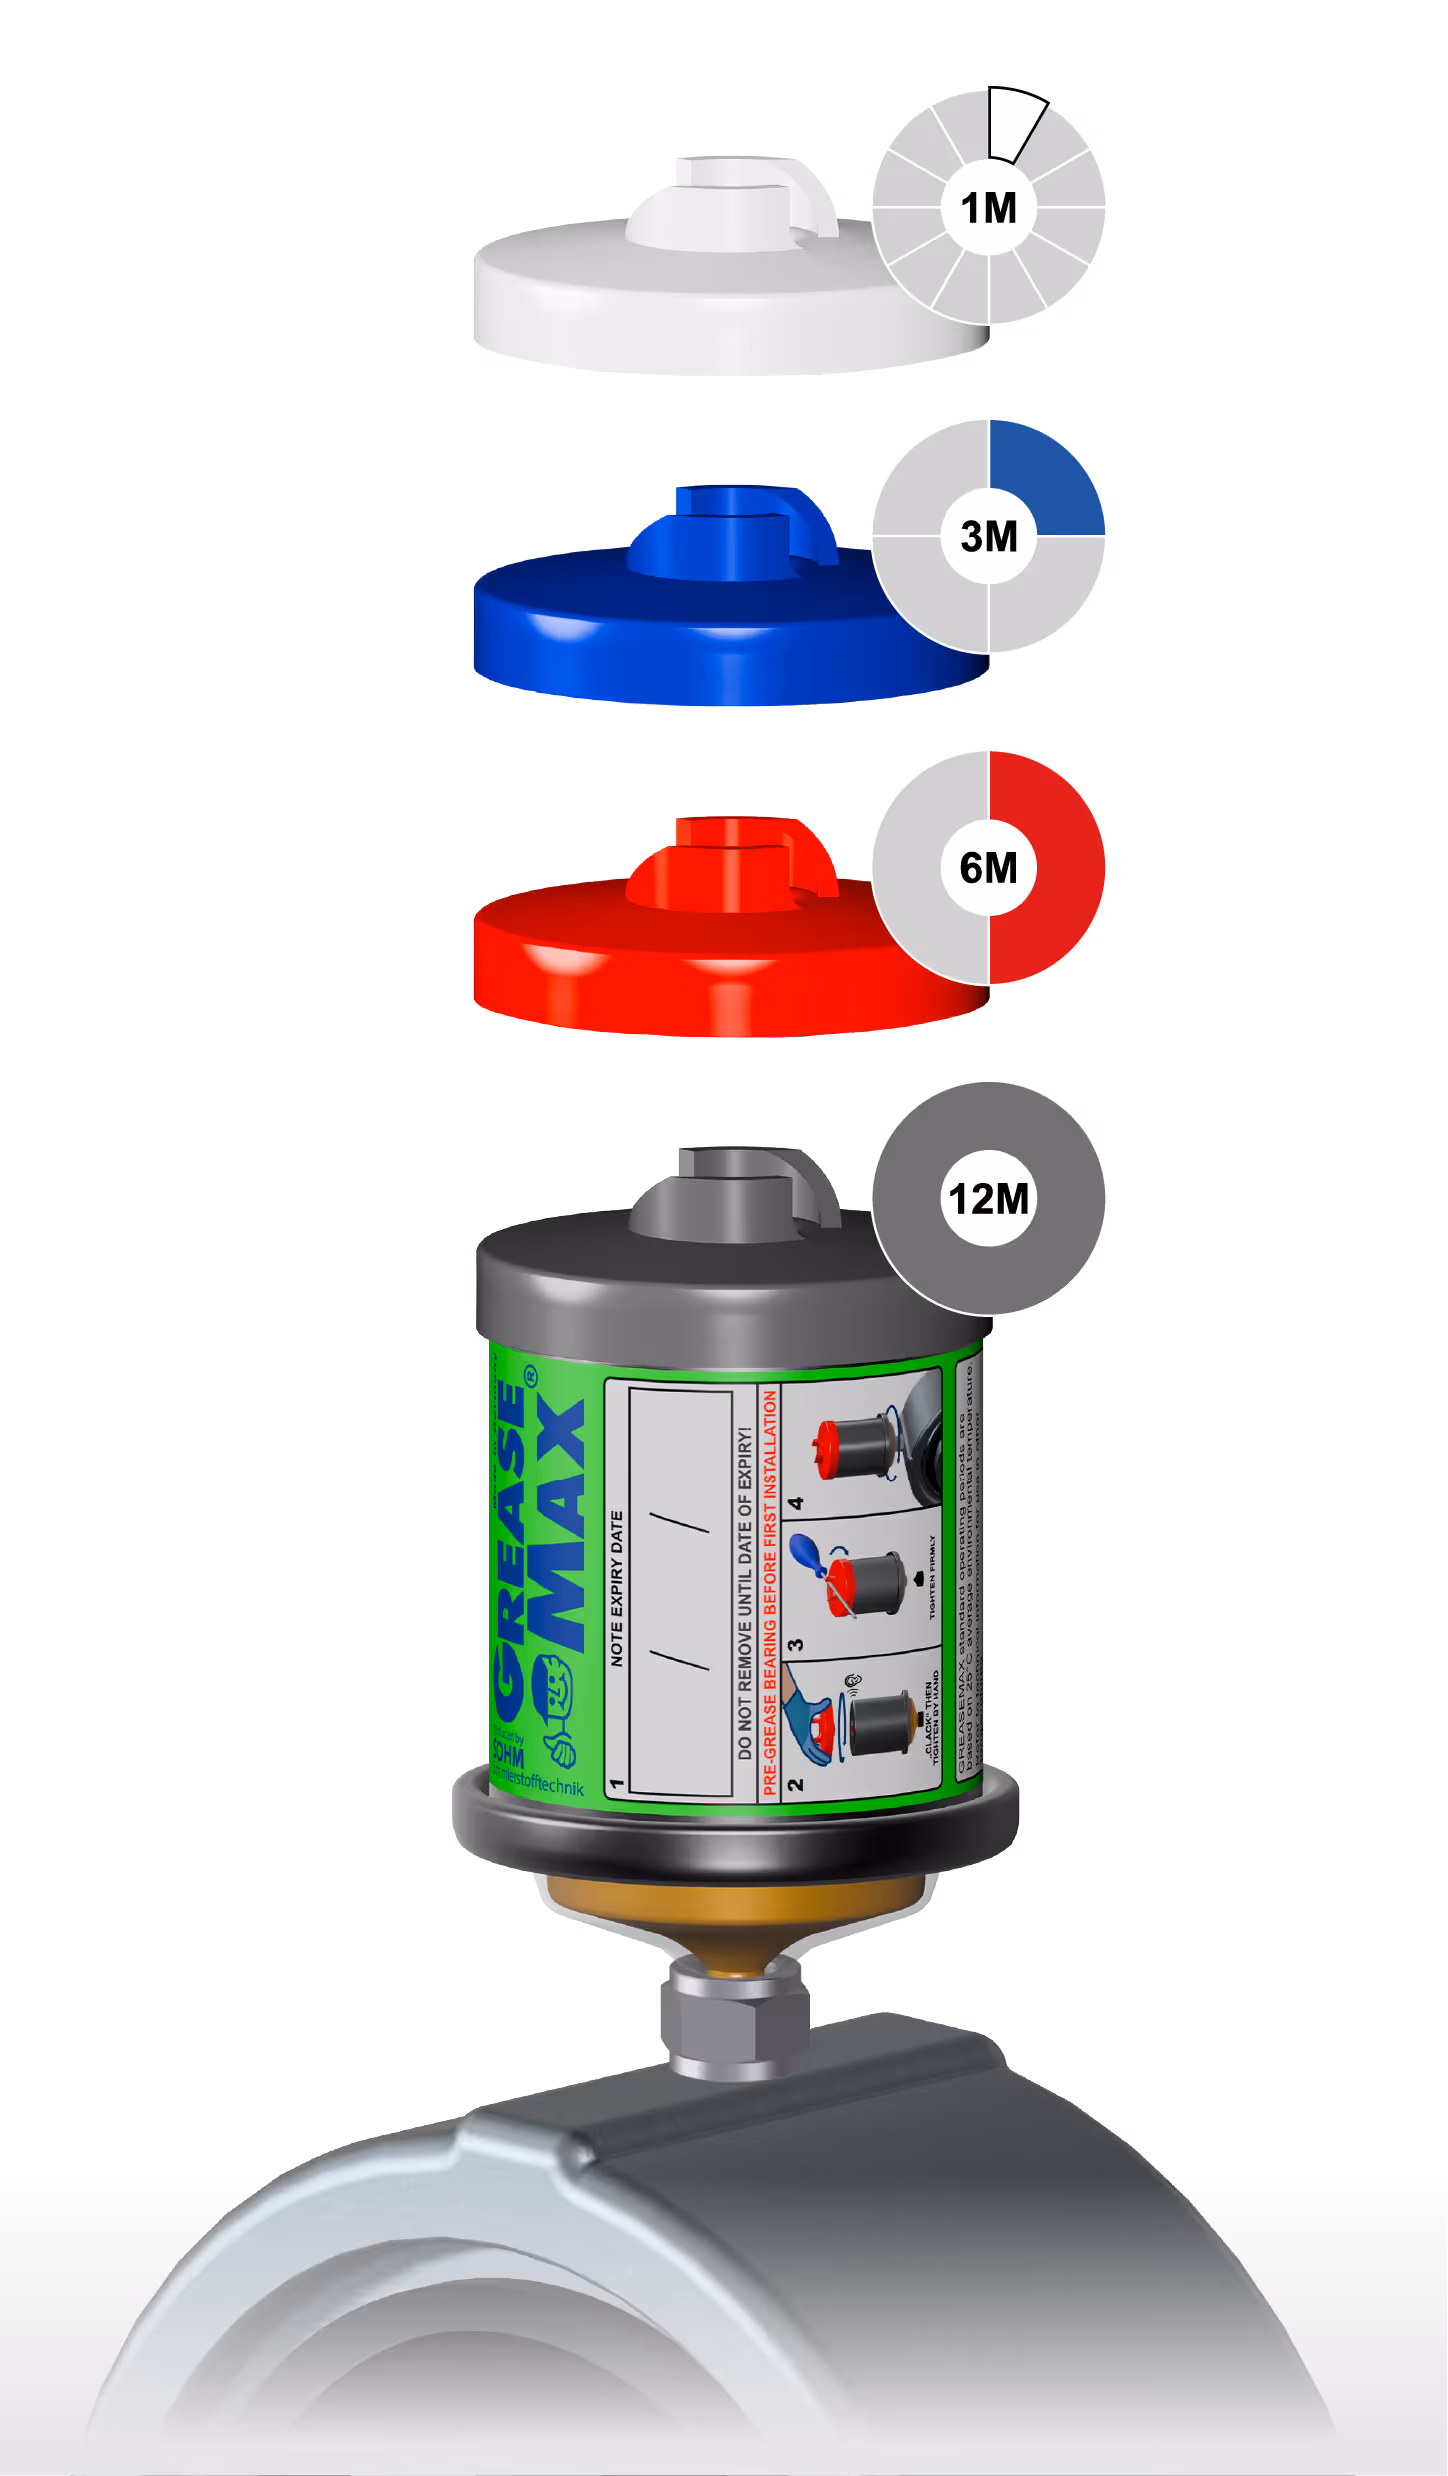
Choose the discharge period of 1, 3, 6 or 12 months

done-icon

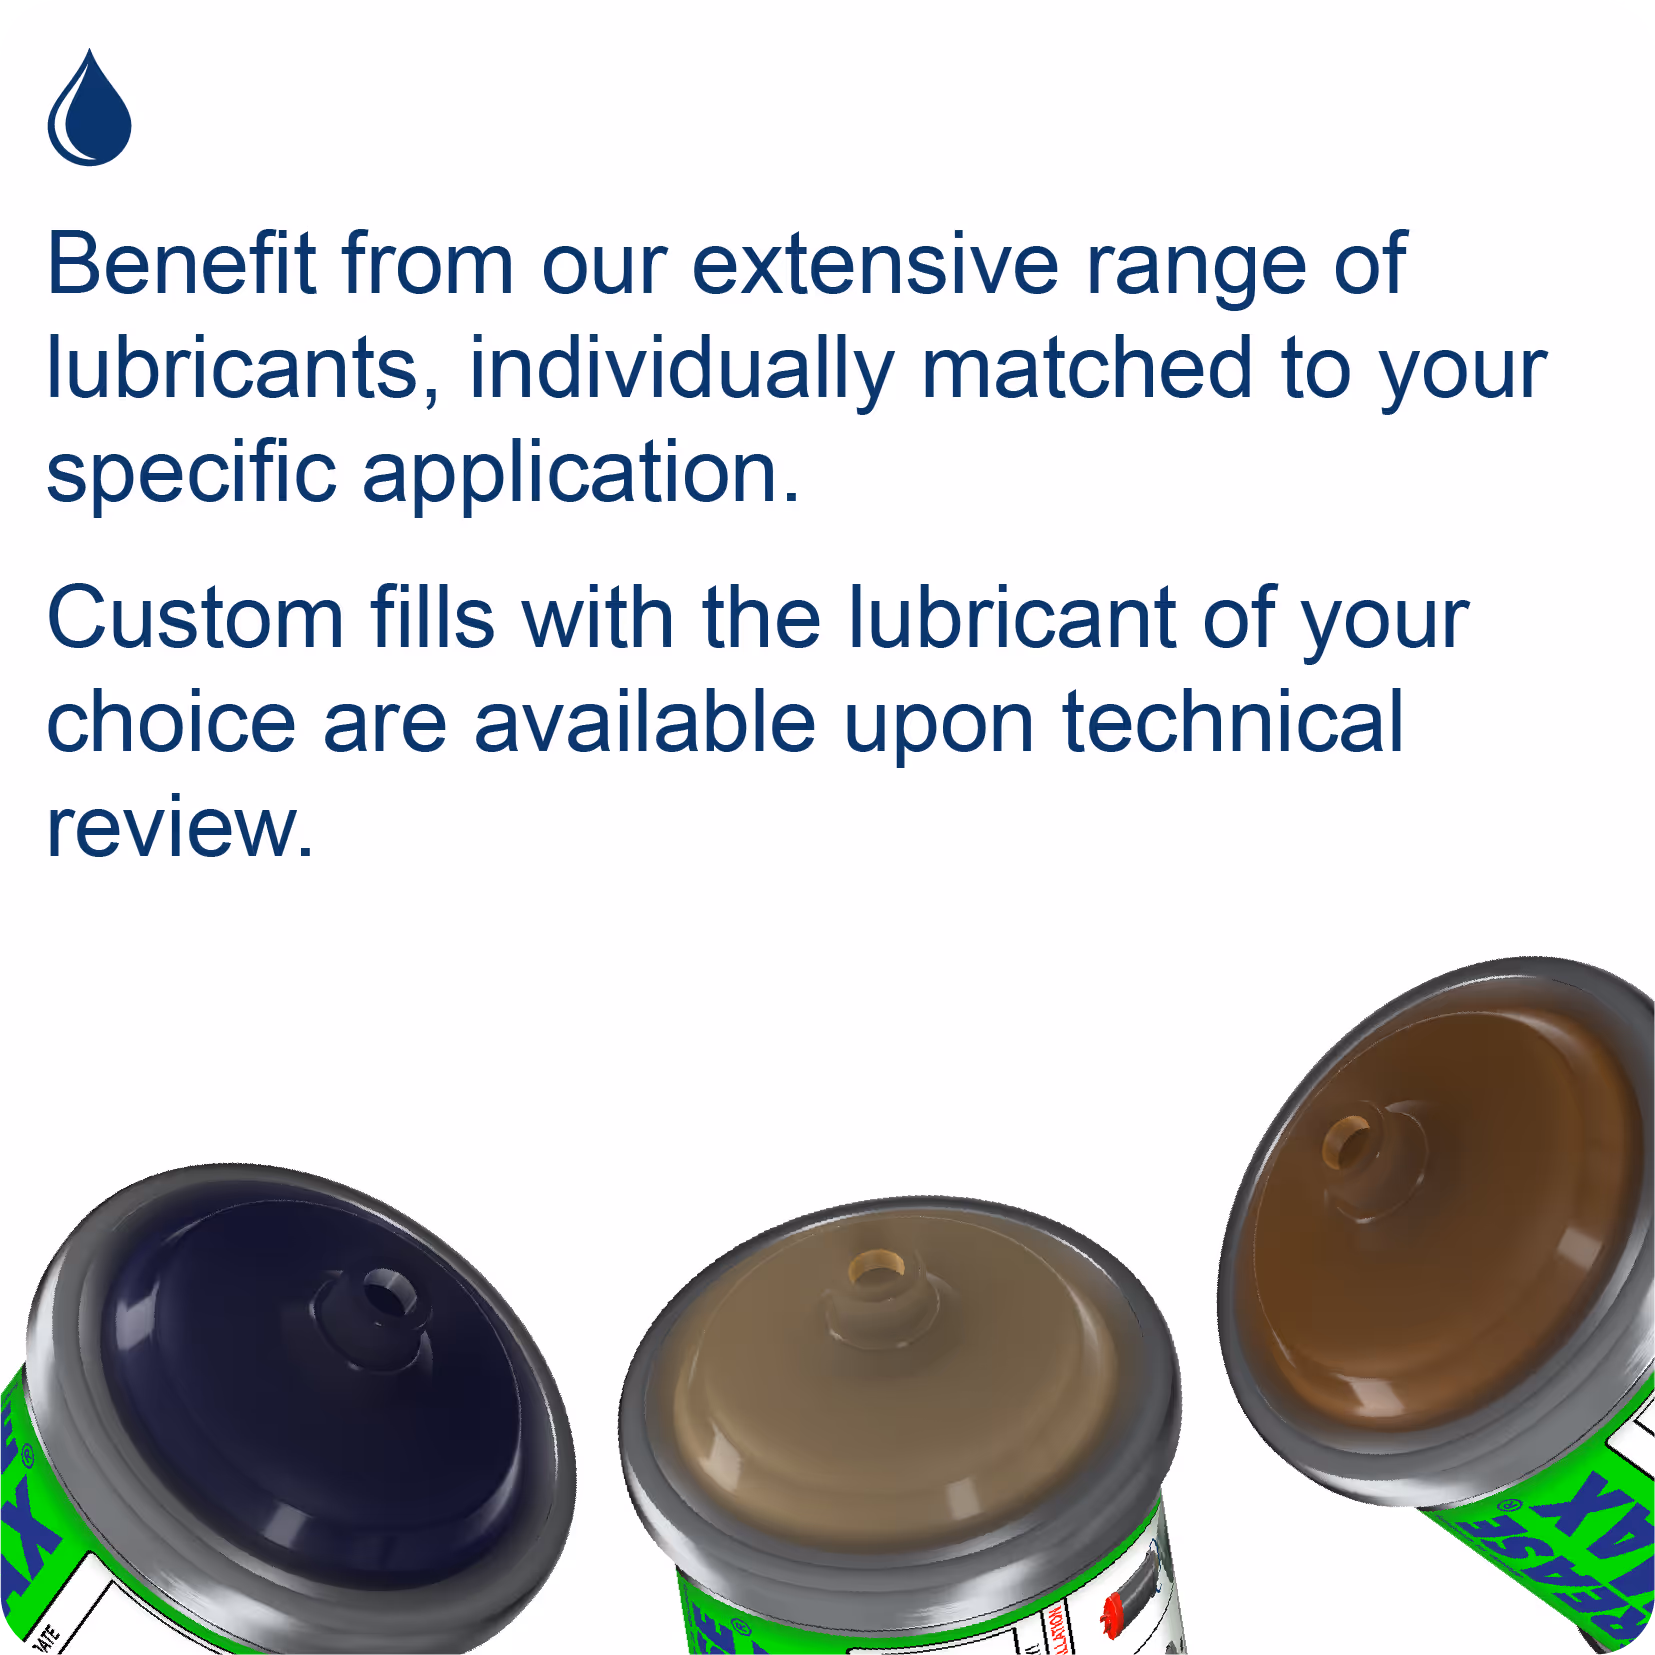
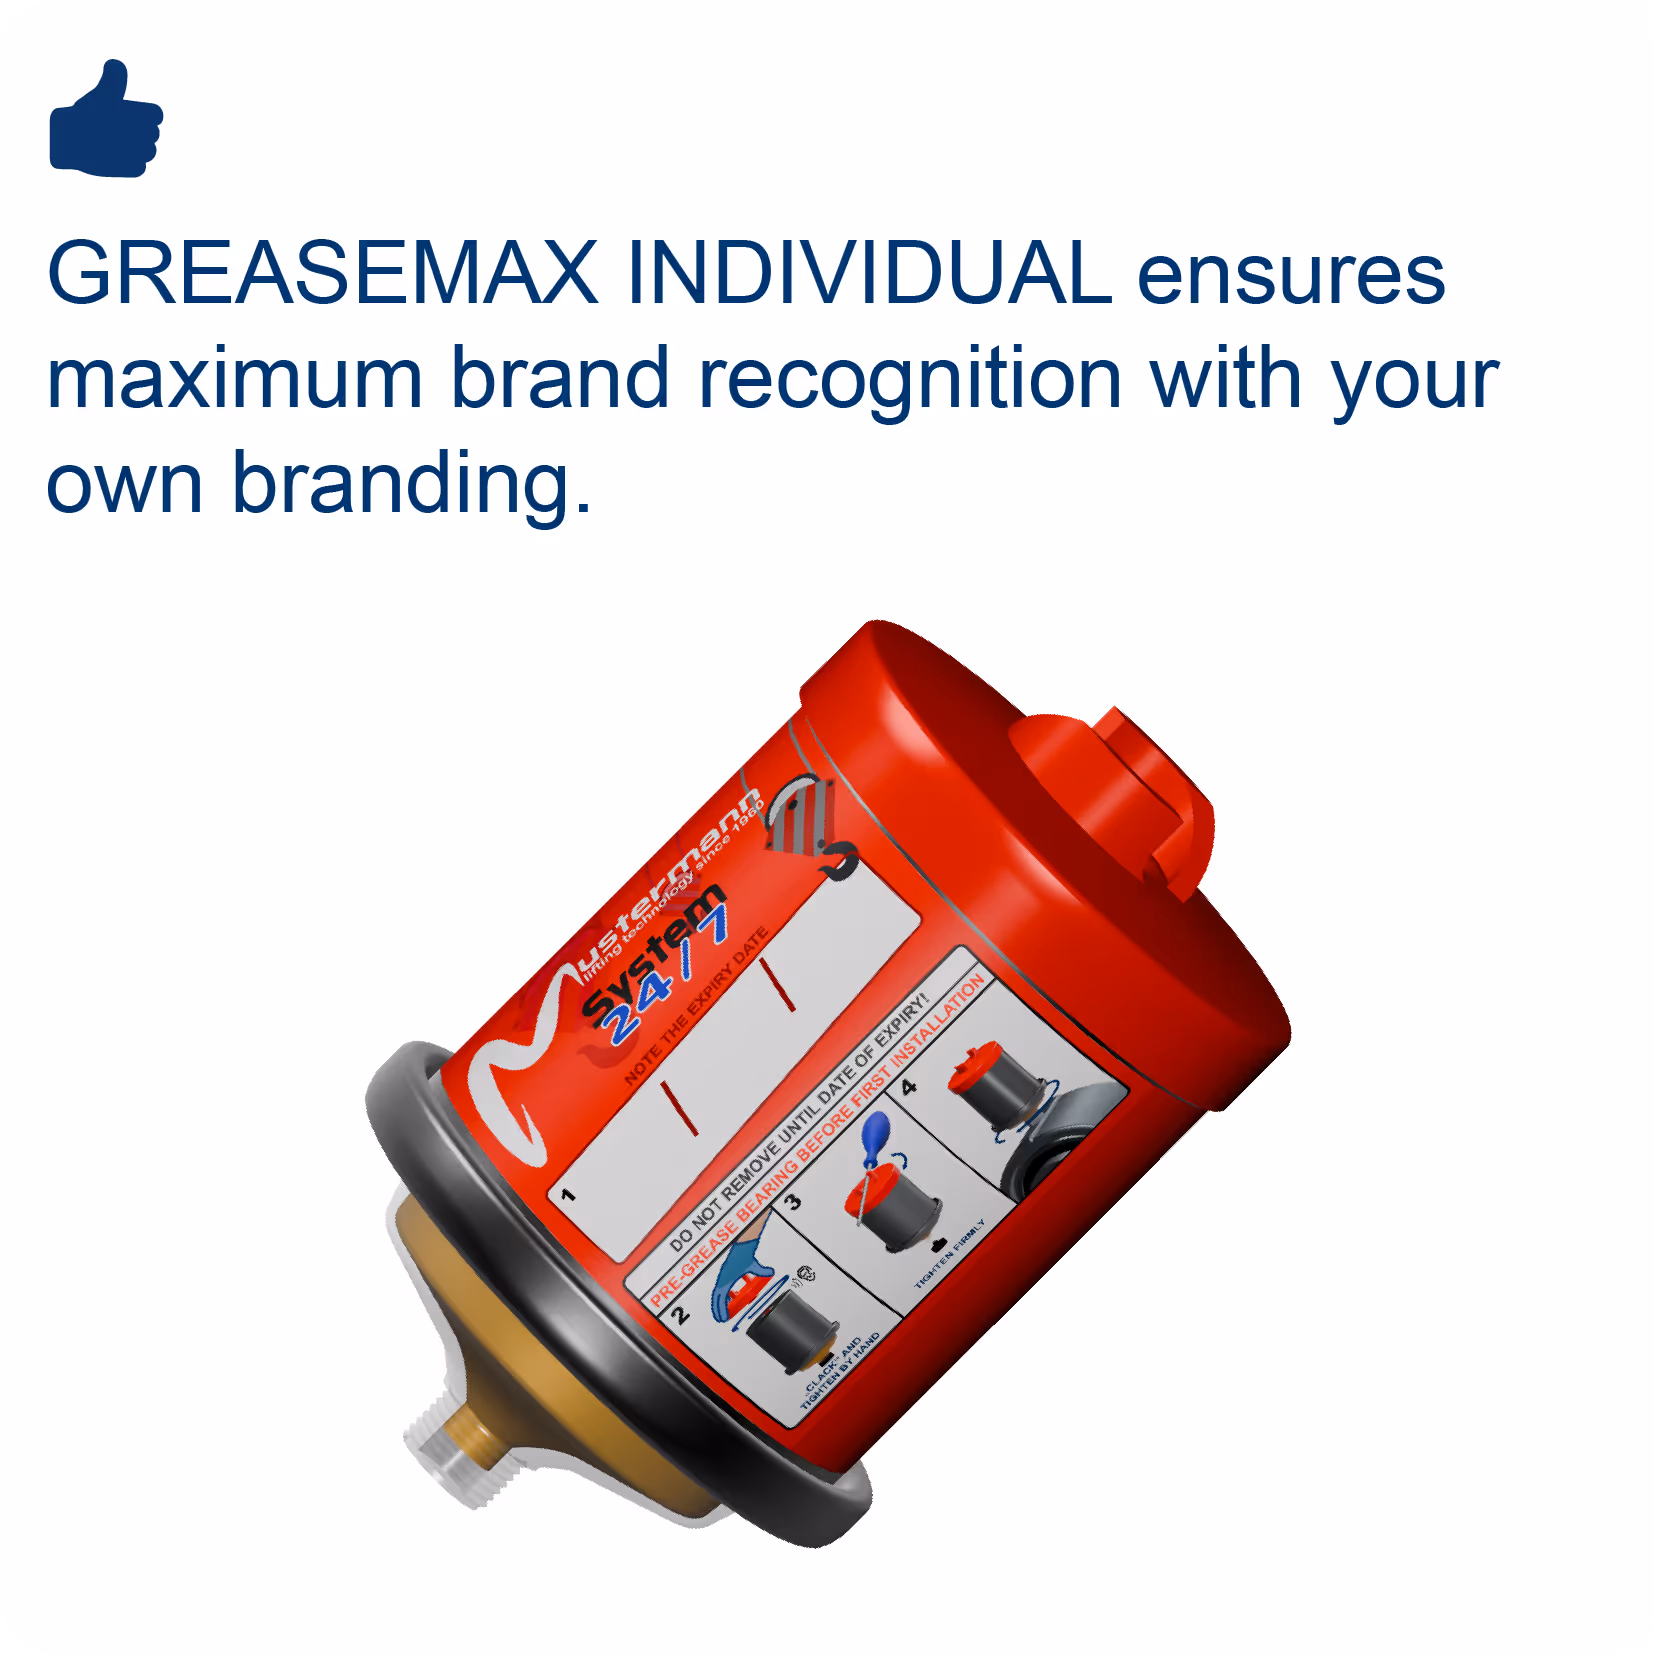
Choose the right lubricant of your choice

Special fillings with the lubricant of your choice are available onrequest after technical testing.
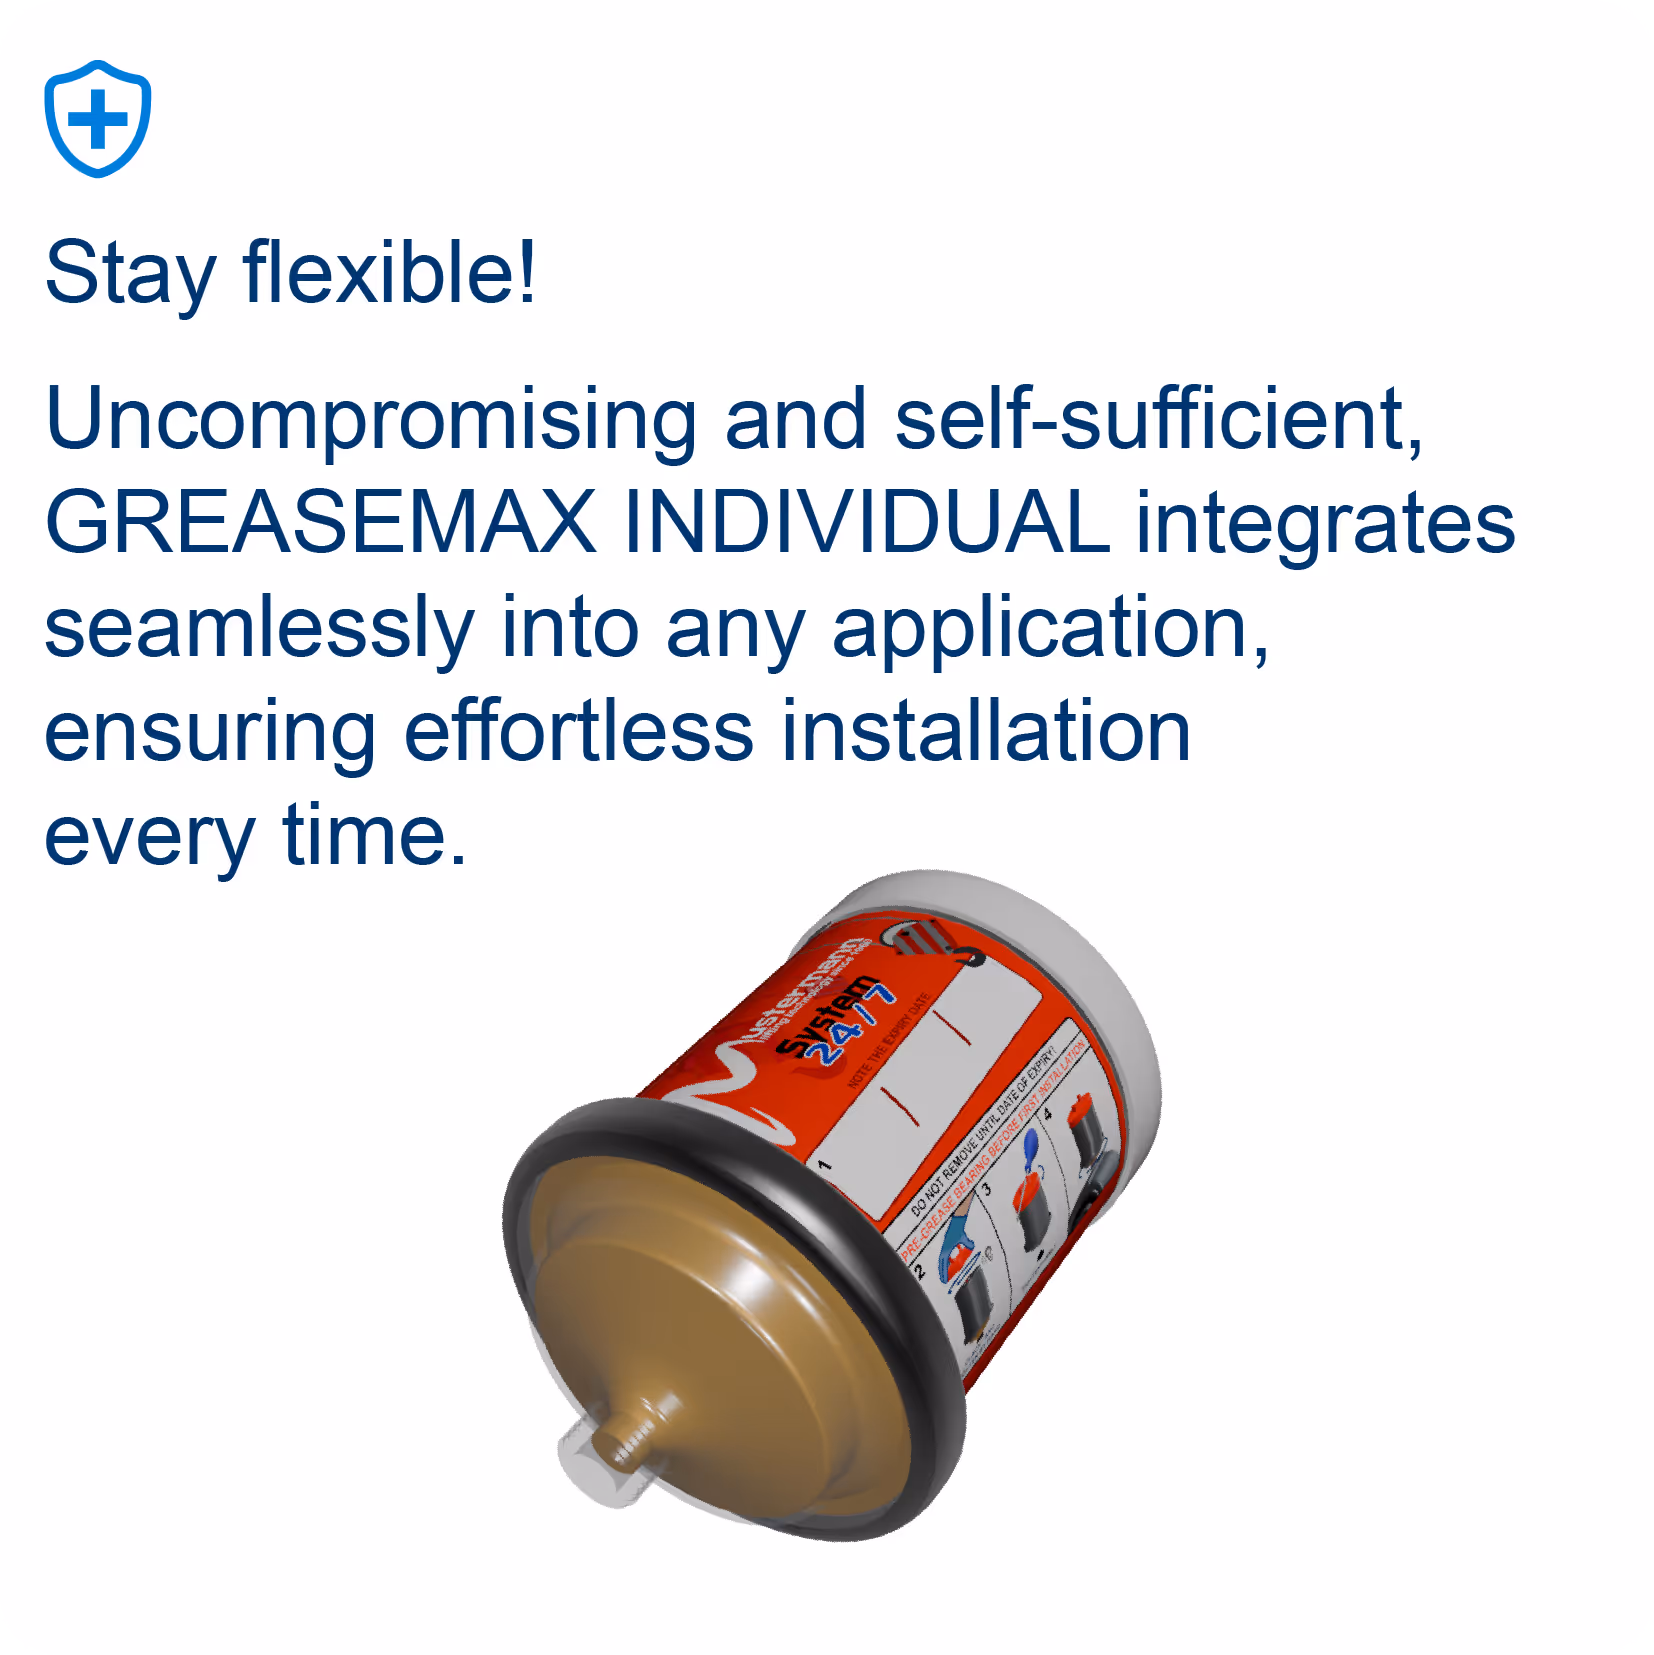
1.2 Select the mounting type

Direct mounting

done-icon

For low vibrations

done-icon

For easy and safe accessibility
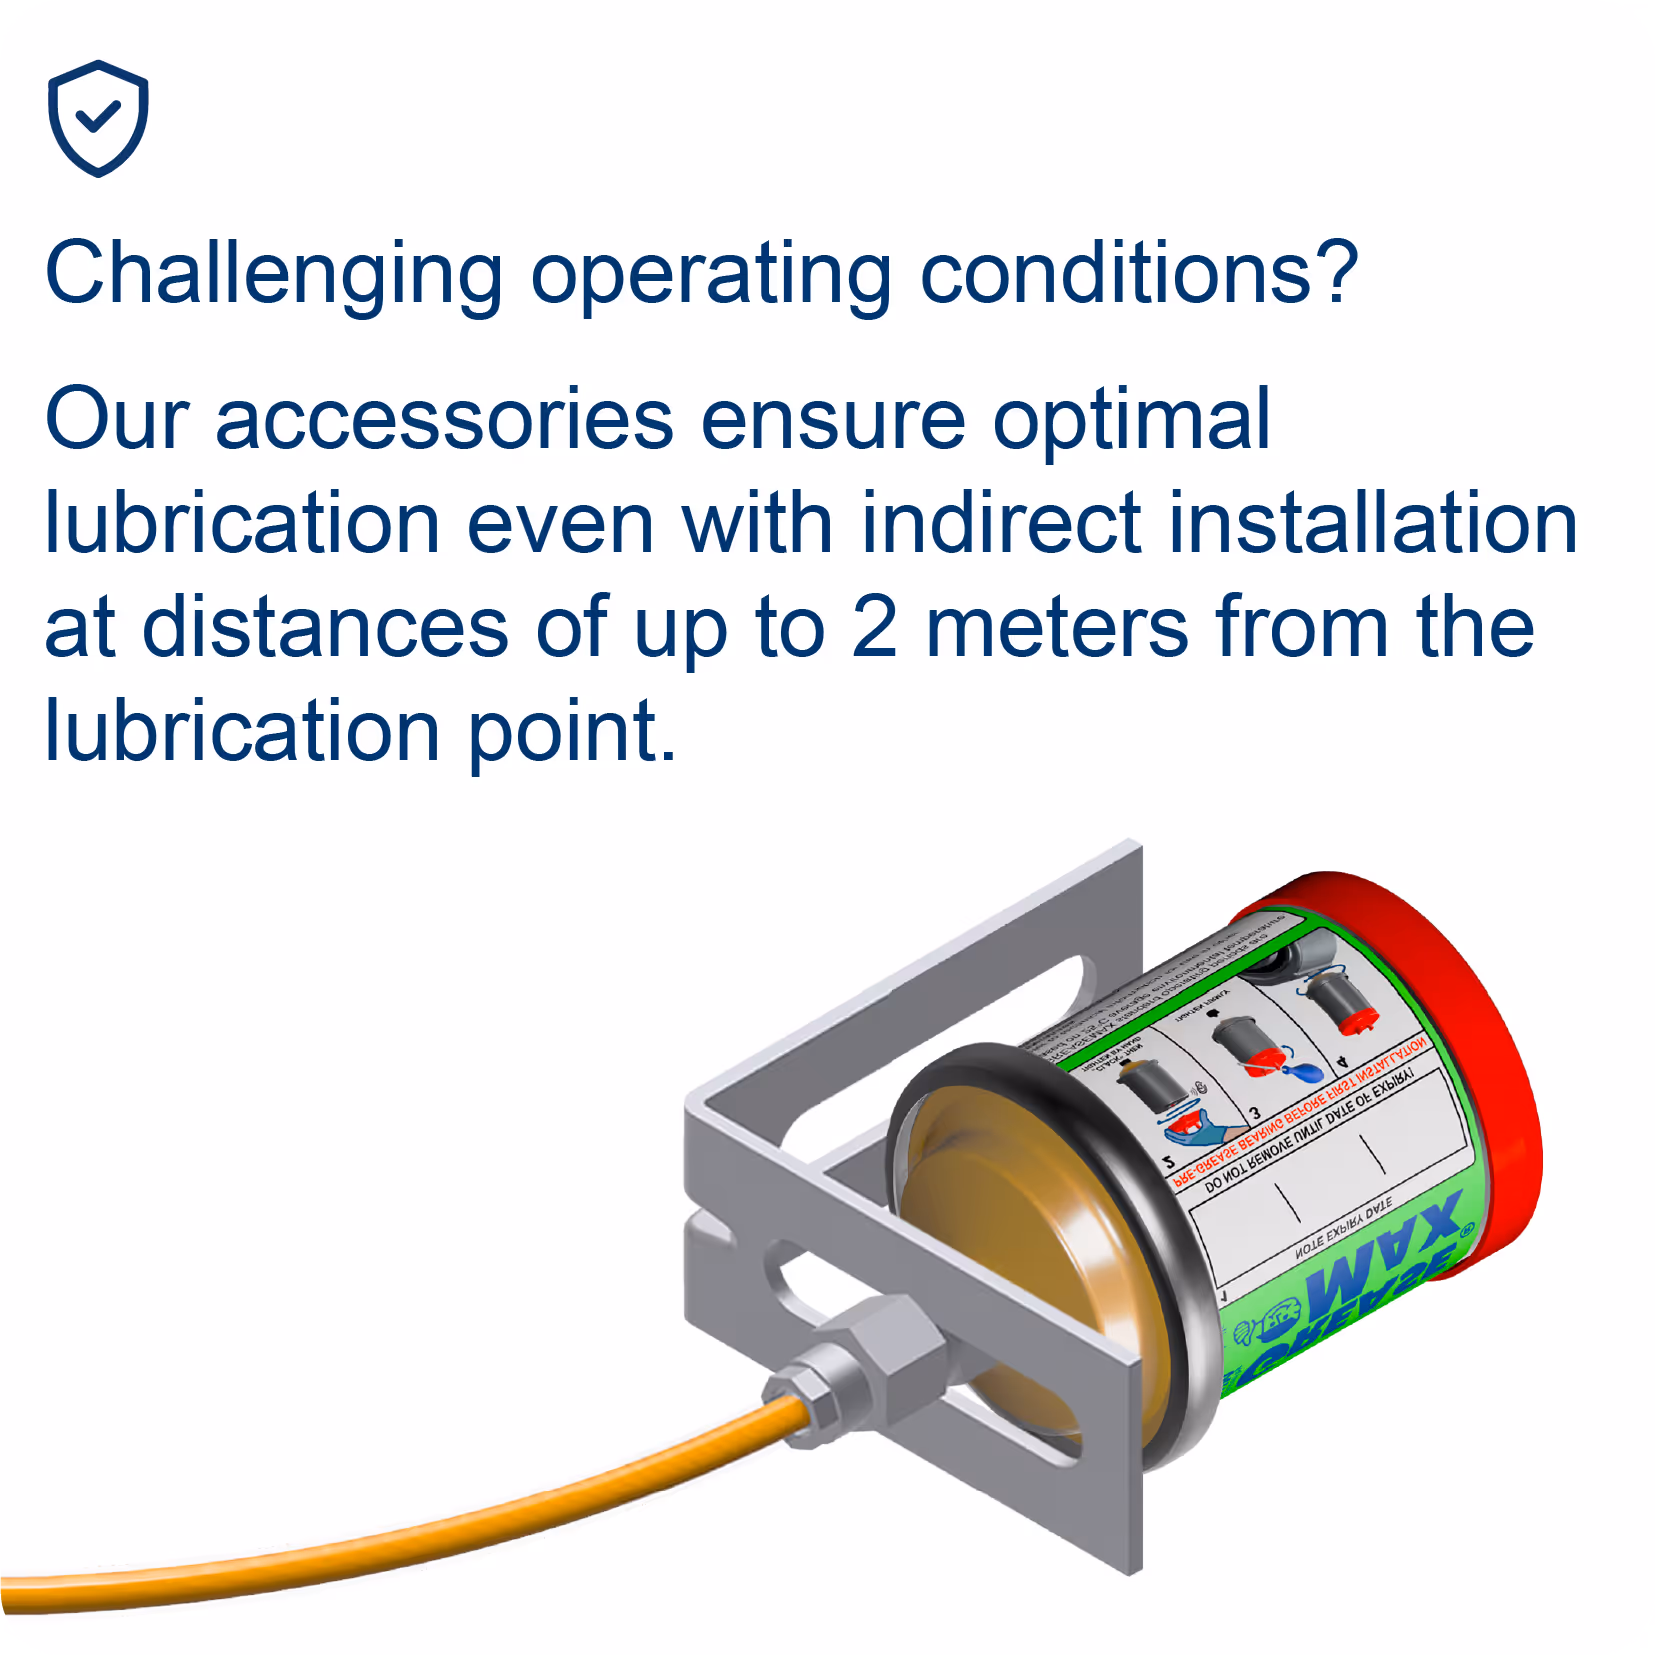
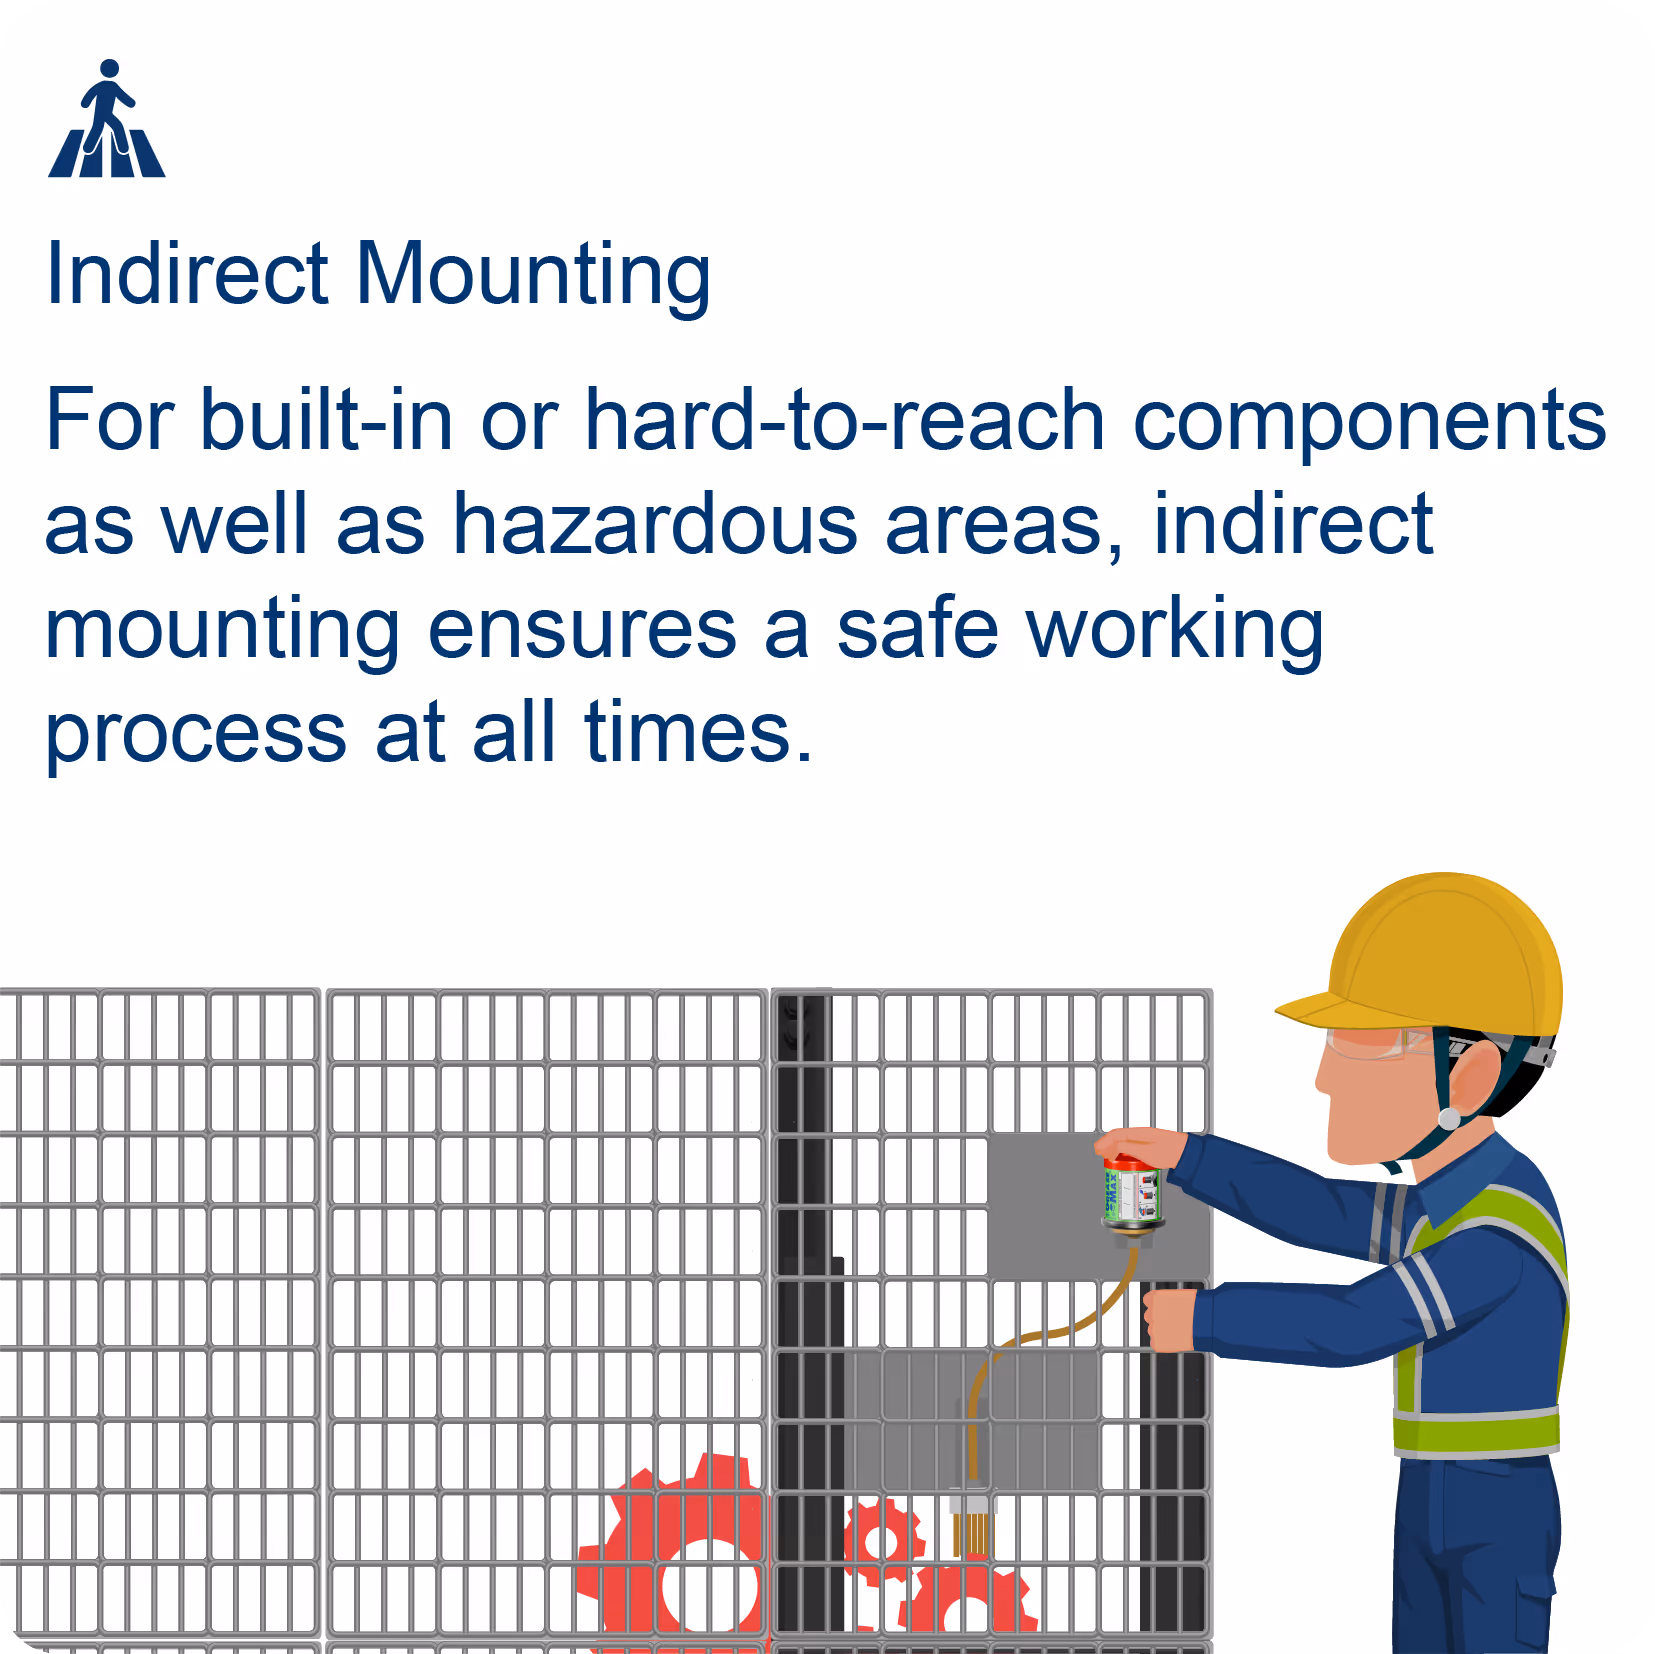
Remote mounting

done-icon

For very strong vibrations, heavy dirt and extreme temperatures

done-icon

For limited space and installation conditions or areas that are difficult to access

Automatic lubricators
automatic chain lubrication
1.3 What accessories do you need?

When installing for the first time or for remote mounting, make sure you use suitable accessories.You can find a list of our accessories in our download area or directly here.

Preparation of the lubrication point, relevant for first-time installation

Schaubild wie ein Wälzlager mit Hand gesäubert wird
2.1 Cleaning the lubrication point
2.2 Remove the grease nipple and screw in the reducer

Install hose line if necessary
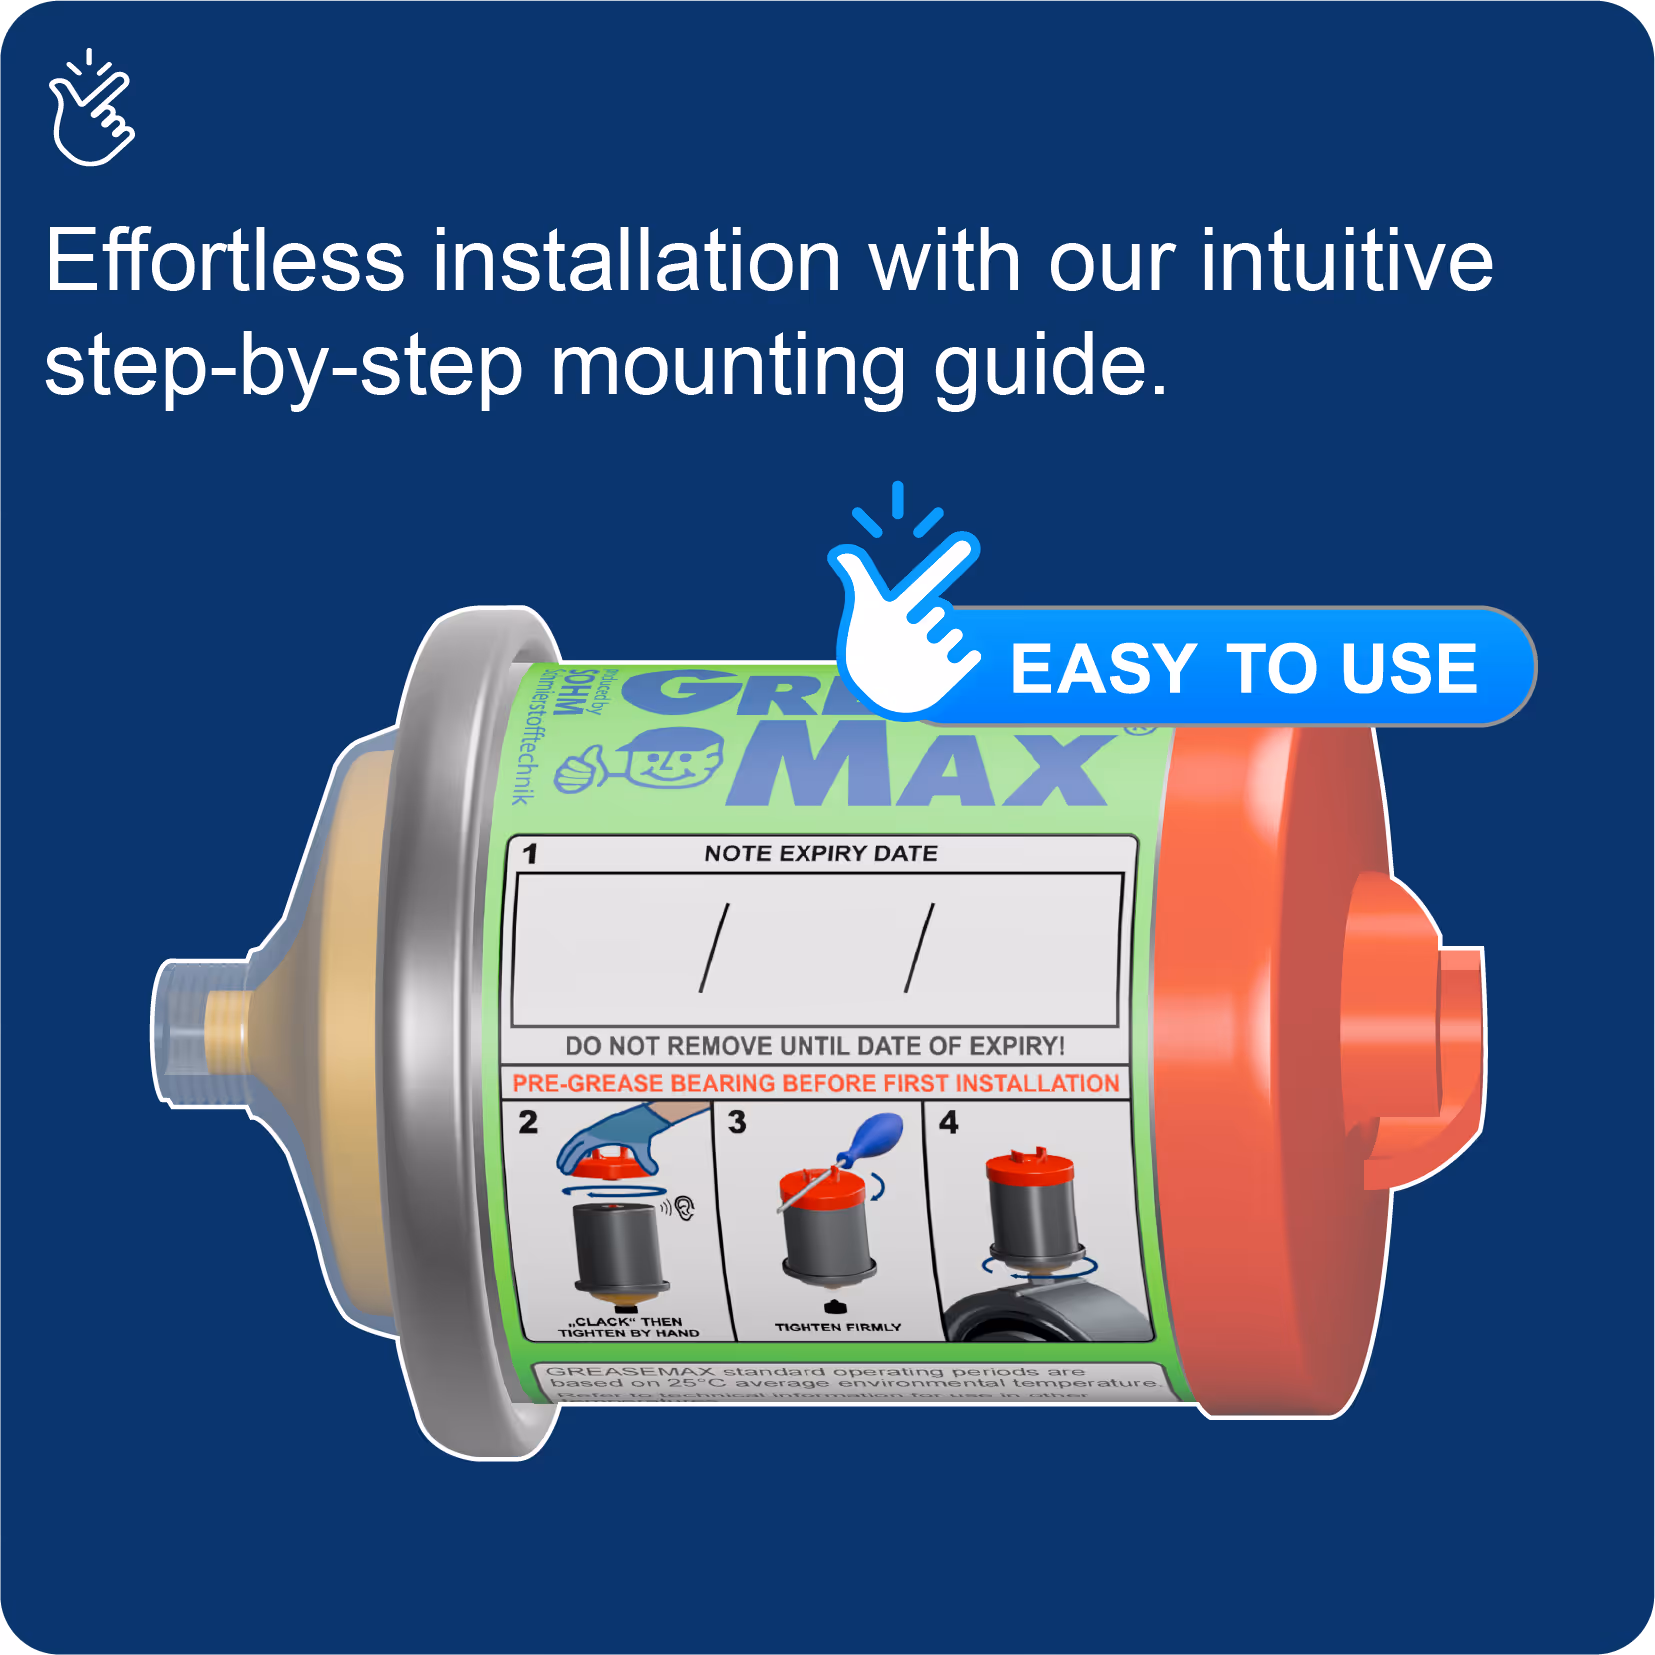
Schmiernippel von der Schmierstelle entfernenReduzierstück in die Schmierstelle einschrauben
Schmierstelle Vorschmieren
2.3 Pre-lubrication
done-icon

Direct mounting:
Fill lubrication point and accessories with identical lubricant.

done-icon

Remote mounting:
Fill the lubrication point and hose line with identical lubricant.

2.4 Pressure testing
Dichtheitsprüfung bei der Schmierstelle durchführen

Activation and installation of GREASEMAX®

Vektordatei Arbeitssicherheit
3.1 Wear safety goggles and protective gloves during activation and installation
3.2 Screw in the starter cap, after "CLACK" tighten to the maximum by hand
Startdeckel in den Schmierstoffgeber eindrehen, die Auslöseschraube dringt hörbar ein und weiterdrehen
Startdeckel mit einem Werkzeug maximal festziehen
3.3 Use a tool to tighten the starter cap firmly
3.4 Note the replacement date and remove the closing cap
Wechseldatum auf dem Schmierstoffgeber notieren und Verschlusskappe entfernen
GREASEMAX® in die Schmierstelle eindrehen
3.5 Screw GREASEMAX® into the lubrication point

GREASEMAX® starts with the automatic lubrication

During the defined dispensing time, GREASEMAX® supplies the lubrication point with fresh lubricant.Now you benefit from the numerous advantages of GREASEMAX®.

Any questions? Simply contact us.